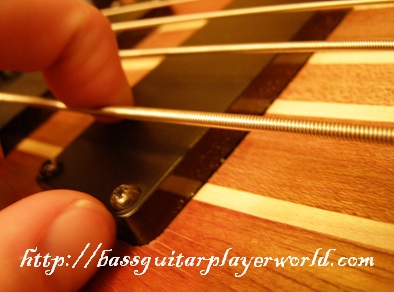
Proper Techniques in Using Your Fingers to Pluck Strings
 Fingering patterns can be one of the most difficult parts of learning the bass guitar. Not only does a proper fingering pattern require pure coordination, it also requires strong fingers, and in some cases, strong nails.
In this article, we’ll help you to learn how to play bass with your fingers.
The first thing you will need to do is make a decision; do you want to play with the pads of your fingers or with your nails? If you want to use the pads of your fingers, it is best you do some basic strumming to help build up the calluses on your fingers tips.
As any seasoned bassist can tell you, playing with sensitive fingertips is excruciatingly painful.
If you chose the nail path, you will want to buy clear nail lacquer. This will help strengthen your nails to prevent painful breakage or tearing. The best way to keep your nails strong and healthy is to first file them to a smooth edge, let them grow out, and then file them again. When they are of the desired length, apply the lacquer.
Once you decide which fingering form you would like to employ, the next step is to create a basic pattern.
What Are the Common Patterns Typically Used
Most patterns that you will be playing will consist of grouping of four notes. That means your three picking fingers (forefinger, middle finger, and ring finger –never use the pinky finger is it is frail and prone to injury) simply aren’t enough. Many bass players use a galloping method to achieve these four note patterns.
While this may work, the way we are going to discuss will be much more fluid and efficient. This is an alternating pattern the cycles through all of your fingers in ascending (closest to your thumb to further from) to descending (closest to your pink then back towards your thumb).
 The reason this pattern works so well is that it all of your fingers are doing equal amounts of work. With a galloping pattern, one finger is doing two strums for every one of the other two fingers.
For example, if you gallop in descending order, your pattern would look like this:
Ring finger, middle finger, forefinger, forefinger
Distributing the Workload Evenly
As you see, your forefinger would be doing twice the workload of your other fingers. While that isn’t necessarily bad (many famous bassists use the galloping technique) it can lead to your fingers being unbalanced. Yet again, this isn’t necessarily a bad thing, as your fingers do not contain muscles thus they will not affect the rest of your body, but it isn’t natural. Also, we have other lessons covering the galloping style.
The alternating style would look like this:
Forefinger, middle finger, ring finger, middle finger
Now you may be thinking that the middle finger is doing twice the work. In fact, it is not; the cycle would continue back to the forefinger and go through the pattern once again.
In the end, your middle finger would only play one more note than the rest of your fingers, whereas doubling up on a finger creates the imbalance.
The most important thing once you try this pattern is to practice it. Use a metronome so that you keep a steady rhythm. Play the pattern on one string, and once you get comfortable, attempt to alternate, still using the metronome. Once you feel comfortable alternating, try playing your scales using this method. Good luck!
You might also want to check out this video to help you out on 4 fingers bass playing.
See Huge Improvements In Your Playing Immediately
If you are serious about learning to play the bass, check out JamPlay. They offer the best online instructional content to help you achieve short term and long term goals. With lessons taught by some of the most famous bassists in the world and new content being added on a weekly basis, you can learn whatever you want at your own convenience!
Jamplay is absolutely fantastic and is highly recommended. Check them out today!
Related Articles
Comments are closed.


